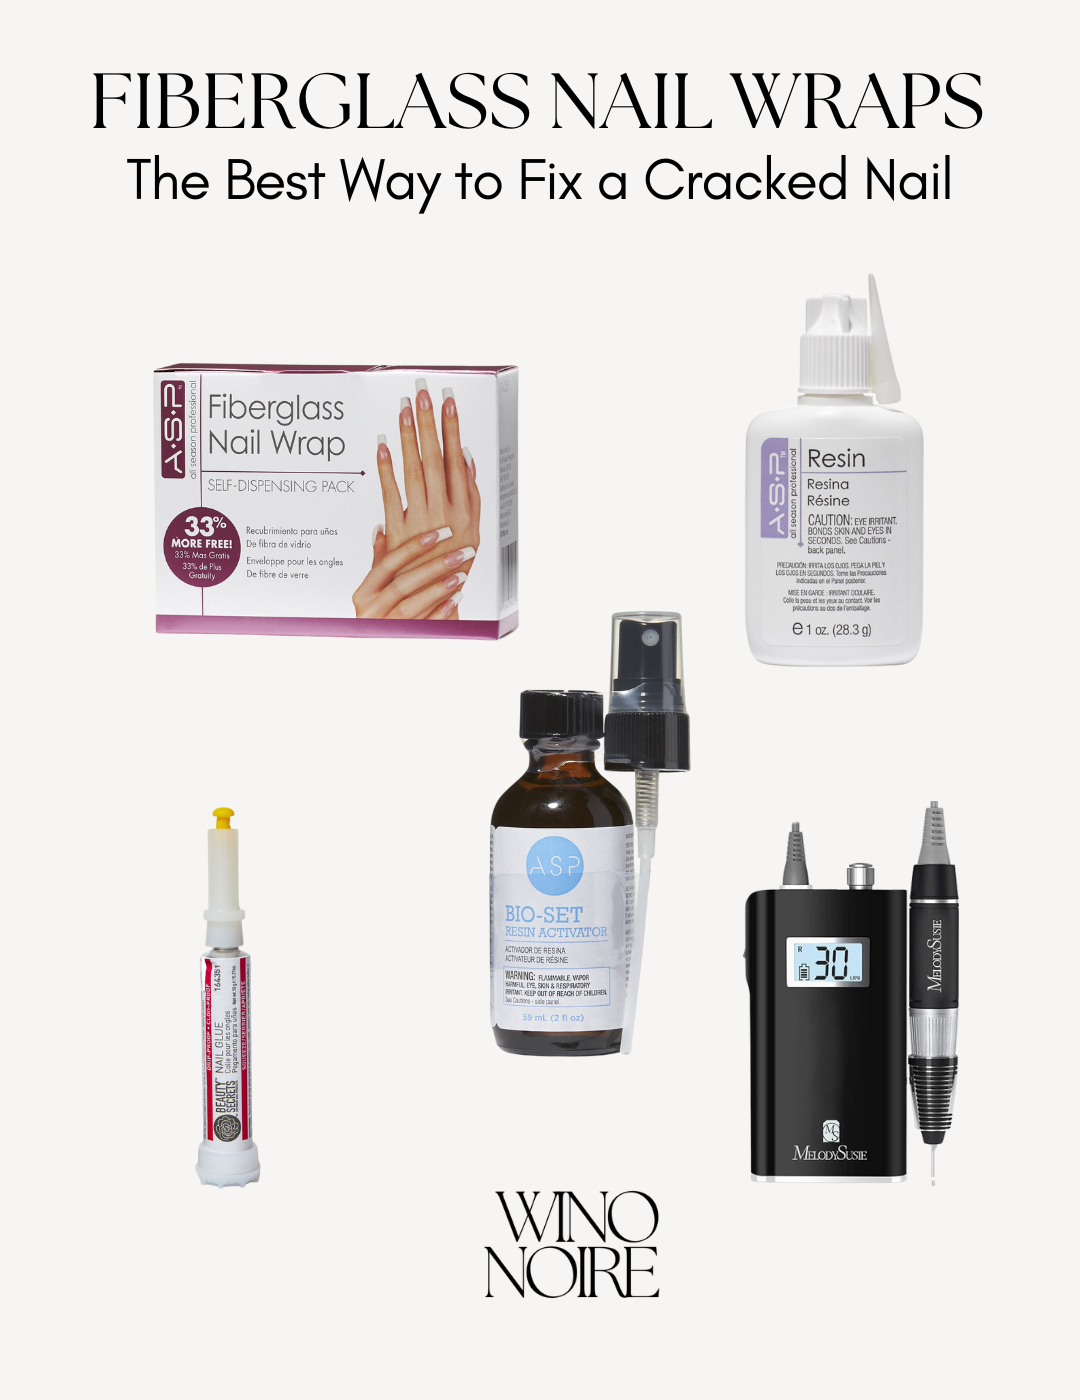
This blog post is about fiberglass nail wraps, a simple and effective solution for fixing cracked nails and keeping your manicure looking flawless.
I’ve been growing my nails for three months using Luminary Builder Gel, which has been a game-changer for me—my nails are the longest they’ve ever been!
It’s exciting to see them long and beautiful, but it’s not without challenges. I work out intensely 3–4 times a week, and I’m pretty rough on my nails, so cracks happen. (I’m also generally hard on my nails—in my teens, my friends used to joke that I would always have at least one broken press-on or acrylic nail! I guess not much has changed.)
After a lot of trial and error (because finding detailed instructions online for fiberglass nail wraps was a struggle), I figured out a method that works. If you’re looking for an easy and affordable way to fix a cracked nail with a fiberglass nail wrap, you’re in the right place.
Keep in mind that I am not a nail professional; this is just what works for me!
Why Use a Fiberglass Nail Wraps?
Fiberglass nail wraps are a game-changer for repairing cracked nails. They’re lightweight, flexible, and perfect for reinforcing your nails without adding bulk. Getting a fiberglass kit is pretty affordable, and it comes with enough materials to fix many cracks. Whether you’re a DIY nail enthusiast or just trying to save a trip to the salon, fiberglass nail wraps are an easy, budget-friendly solution.
What You’ll Need:
- Beauty Secrets Nail Glue
- ASP Fiberglass Nail Wraps
- ASP Resin
- ASP Bio-Set Resin Activator (spray)
- E-file or regular nail file
- Buffer
- Nail/cuticle clippers
- Dust Collector (optional)
- A well-ventilated area (trust me, the resin smell is strong!)
Step-by-Step Guide: How to Fix a Cracked Nail with a Fiberglass Nail Wraps
1. Prep Your Nail
Before applying the fiberglass nail wrap, you need to prepare your nail:
- File down any gel polish or embellishments on your nail. I use an e-file to thin out my Luminary Builder Gel (don’t remove it completely—just make it a thin layer).
- Clean and dry your nail thoroughly.
2. Secure the Crack
- Apply Beauty Secrets Nail Glue directly to the cracked area to hold it in place.
- Use a thin layer of glue and let it dry completely.
- Buff the area gently to smooth it out, but don’t buff all the glue off.
3. Apply the Fiberglass Nail Wrap
- Cut a piece of the ASP Fiberglass Nail Wrap large enough to cover the crack and reinforce the surrounding area.
- The wrap has a sticky side—press it firmly over the crack.
- Trim any excess wrap around the edges using nail clippers for a clean fit.
4. Apply the Resin
- In a well-ventilated area, apply a small dot of ASP Resin over the fiberglass wrap.
- The resin is very liquid, so use just a tiny amount and spread it evenly over the entire wrap.
5. Activate the Resin
- Grab your ASP Bio-Set Resin Activator and lightly mist it over your nail.
- Hold the spray bottle about 10–12 inches away from your nail.
- A couple of light sprays will harden the resin quickly.
6. Buff and Finish
- After the resin dries, buff the surface of your nail to make it smooth and even.
- I use an e-file with a buffing band or a hand buffer.
- Once the nail is smooth, you’re ready to apply builder gel, polish, or whatever you usually use on your nails.
Why Fiberglass Nail Wraps Work So Well
Fiberglass nail wraps are flexible yet durable, making them perfect for repairing cracks in natural or builder gel nails. Unlike traditional nail tips or patches, fiberglass wraps bond seamlessly to the nail, creating a natural look and feel.
Final Tips for Success:
- Always cut the fiberglass wrap slightly larger than the crack to reinforce the nail better.
- Trim any excess wrap around the edges before applying resin to avoid a messy finish.
- Use the resin in a well-ventilated space to avoid strong fumes.
- Spray the bio-set activator at least 10 inches from your hand. If you feel heat, it means you’re spraying too closely.
- Avoid using acetone after the resin has set, as this will break down the resin. Instead, use 90% isopropyl alcohol for clean-ups.
This process has saved me from countless nail disasters, and I hope it helps you too! Fiberglass nail wraps are a must-have for anyone dealing with cracks in their nails. If you give this method a try, let me know in the comments—I’d love to hear how it worked for you!
Other Post You’ll Love


